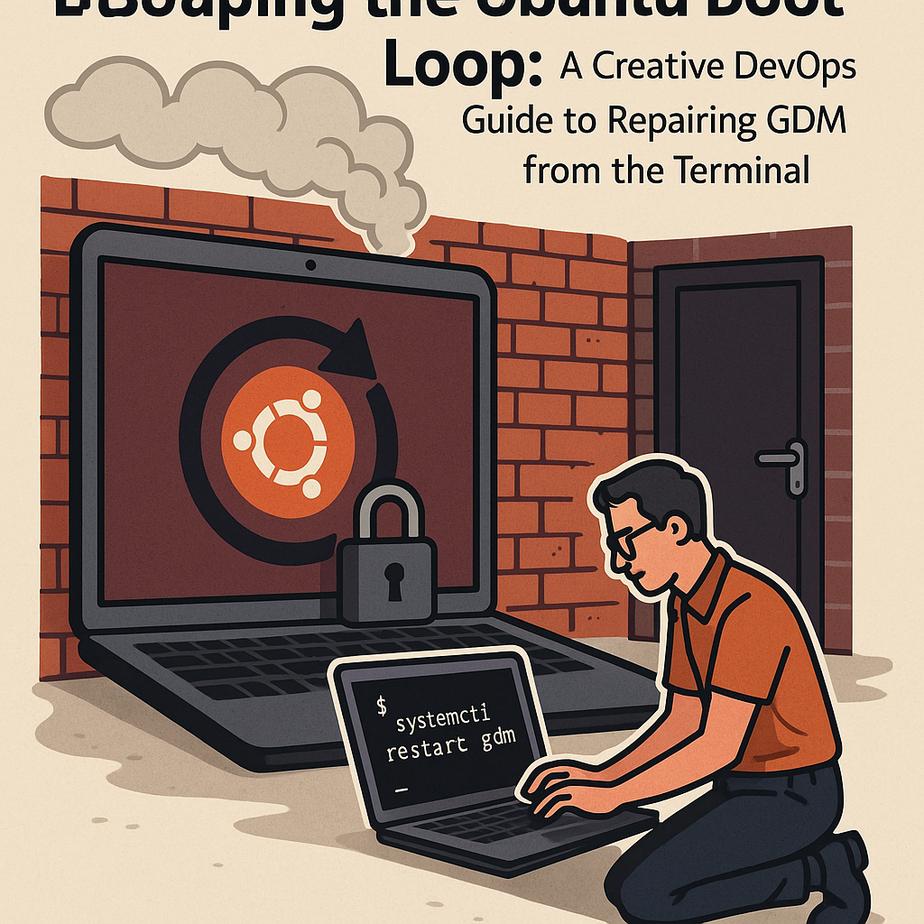
When your Ubuntu system falls into an endless boot loop after a failed GDM service start, it feels less like a computer glitch and more like being locked out of your own digital home.
Escaping the Ubuntu Boot Loop. The good news is that you don’t need to rush for a reinstall USB or wipe your disk just to get your desktop back. In this long-form, beginner-friendly guide, we’ll walk step by step through repairing Ubuntu boot loops from the TTY terminal, purging corrupted graphics drivers, rebuilding the Gnome Display Manager (GDM3), and restoring your system’s stability. Think of this as Creative DevOps for your personal workstation: you’ll blend system engineering, digital sovereignty, and practical open source troubleshooting to reclaim control of your Linux box.
Section
Understanding the Ubuntu Boot Loop and Failed GDM Start
Before we start hammering commands into the terminal, it’s important to understand what’s actually going wrong when your Ubuntu system hangs on the boot splash screen or a lonely blinking cursor. In a typical modern Ubuntu desktop, the Gnome Display Manager (GDM3) is responsible for launching the graphical login screen and managing user sessions. If the GDM service fails to start—often because of broken or conflicting graphics drivers, misconfigured Wayland/Xorg settings, or incomplete updates—the system cannot transition from multi-user text mode into a functional graphical environment. You’re not necessarily dealing with a broken kernel or ruined filesystem; you’re dealing with a failed “face” of the operating system. This distinction is critical for digital sovereignty: knowing that one layer is broken, not the entire stack, helps you approach the problem surgically rather than panic-formatting your disk.
Section
Visualizing the Crisis: What a GDM Boot Loop Looks and Feels Like
The classic symptom of a GDM-related Ubuntu boot loop is deceptively simple: the machine powers on, you see the manufacturer logo, maybe the Ubuntu splash screen with the dots animating—and then nothing. The animation freezes, or the screen turns black with a single blinking cursor, or it loops back and forth between splash and blank screens. Sometimes you may see error messages about gdm.service, nvidia modules, or failed to start GNOME Display Manager if verbose boot is enabled. From a user-experience perspective, it feels like being trapped in a loading screen with your data held hostage. From a systems engineering perspective, however, the rest of the OS may be fine: systemd is running, services like networking may be alive, and your files are intact. Recognizing this pattern helps you realize that the fix may be as simple as disabling a broken driver, reinstalling gdm3, or reconfiguring the default display manager via terminal.
Section
Breaking Into the System: Accessing the Hidden TTY Interface
To repair Ubuntu when the graphical interface is dead, we need a back door into the running system. That back door is the TTY—text consoles accessible via keyboard shortcuts that bypass the frozen graphical layer. On most Ubuntu systems, you can switch to a TTY with Ctrl + Alt + F3 (or F2, F4, etc.). When you press it, the screen should flip to a black terminal asking for a login. If nothing happens, try disabling Secure Boot in BIOS or checking other function keys. Once you see the login prompt, enter your usual username and password; this lands you in a shell where you have full control over the system without the GUI. For example:
Section
Ctrl + Alt + F3
# Log in as your user
Ubuntu login: your_username
Password: ********
# Gain root privileges (if needed)
$ sudo -i
[sudo] password for your_username: ********
root@hostname:~#
From here, we’ll diagnose the GDM service, inspect logs, and start surgically undoing whatever broke your display manager. This is the heart of digital sovereignty: knowing you can still drive your system even when the pretty dashboard fails.
Section
Diagnosing the GDM Service: systemd and Log Analysis
With TTY access and root privileges, our first job is to confirm that GDM is actually failing and gather clues about why. We’ll use systemctl to query service status and journalctl to read logs. Begin with:
Section
root@hostname:~# systemctl status gdm.service
# If you’re using gdm3, this alias works too
root@hostname:~# systemctl status gdm3
# To see recent errors related to GDM
root@hostname:~# journalctl -u gdm.service -b –no-pager | tail -n 50
# To look for graphics or GPU-related errors
root@hostname:~# journalctl -b –no-pager | grep -Ei ‘nvidia|nouveau|i915|amdgpu|gpu|drm’ | tail -n 50
Study the output carefully. Common issues include: failure to load NVIDIA proprietary modules, mismatched kernel and driver versions after a recent kernel upgrade, Wayland failures on older GPUs, or missing libraries due to interrupted package updates. If you see references to broken packages or drivers, keep those names in mind—we’ll be purging and reinstalling them soon. If the logs mention Failed to start GNOME Display Manager without much detail, pay attention to earlier error lines above; the root cause is often a driver or dependency, not GDM itself.
Section
Stabilizing the System: Updating and Fixing Broken Packages
Before we attack graphics drivers directly, it’s wise to make sure your package database and installed packages are in a consistent state. A half-finished update can easily leave GDM or GPU drivers in limbo, causing boot loops. Start by refreshing package lists and repairing any broken installs:
Section
root@hostname:~# apt update
# Attempt to fix partially installed or broken packages
root@hostname:~# apt –fix-broken install
# Reconfigure any packages left in an inconsistent state
root@hostname:~# dpkg –configure -a
If you see prompts about services being restarted or configuration files being updated, answer carefully but don’t be afraid to keep existing config files if you’re unsure. After this, you can run a safe upgrade to make sure all critical dependencies are aligned with your current kernel:
root@hostname:~# apt upgrade
On slower connections or in constrained environments, you may prefer apt upgrade --no-install-recommends to avoid pulling in large optional packages.
Personally, I like to run apt update and apt --fix-broken install before doing anything more invasive; in many cases, this alone resolves a stuck GDM by finishing an interrupted driver installation.
Section
Purging Corrupted or Conflicting NVIDIA and Mesa Drivers
In modern Ubuntu setups—especially on laptops and workstations with discrete GPUs—the number one suspect in a failed GDM start is a problematic graphics driver. NVIDIA proprietary drivers are powerful, but they can clash with new kernels, hybrid Intel/NVIDIA setups, or Wayland defaults. Mesa drivers for Intel and AMD are usually more robust, but they, too, can become inconsistent after partial upgrades. To fully reclaim control, we often need to purge problematic drivers, reboot into a safe state, and then reinstall the correct versions. For NVIDIA-heavy systems, a common reset sequence is:
Section
root@hostname:~# apt purge 'nvidia-*'

root@hostname:~# apt purge 'libnvidia-*'
# Optional: clean out residual OpenGL or Vulkan stacks if truly broken
root@hostname:~# apt purge ‘xserver-xorg-video-nvidia*’
# Clean package cache to remove old archives
root@hostname:~# apt clean
# Autoremove orphaned dependencies
root@hostname:~# apt autoremove –purge
For systems that rely primarily on integrated Intel or AMD GPUs, you may want to focus on Mesa-related packages if logs point directly to them. However, avoid mass-purging Mesa unless you’re confident; instead, try targeted reinstall:
root@hostname:~# apt install --reinstall mesa-vulkan-drivers mesa-utils xserver-xorg-video-all
After purging NVIDIA drivers, the system will fall back to the open-source nouveau or generic drivers, which are usually enough to boot into a basic desktop.
Later, we’ll reinstall the proper NVIDIA driver using ubuntu-drivers or explicit package names compatible with your hardware and kernel.
Section
Reinstalling and Reconfiguring the GDM3 Display Manager
Once suspect graphics drivers have been neutralized, it’s time to scrutinize the display manager itself. A corrupted GDM3 installation, broken configuration, or conflict with alternative display managers like LightDM or SDDM can all prevent your GUI from starting. To refresh GDM3, we’ll reinstall and then re-run its configuration dialogs. First, reinstall:
root@hostname:~# apt install --reinstall gdm3
If you previously experimented with other display managers, you may have multiple installed.
To reset the system’s idea of which display manager to use, run:
root@hostname:~# dpkg-reconfigure gdm3
A dialog window appears (in text mode), asking which display manager should be the default.
Use the arrow keys to select gdm3, then press Enter. This command effectively re-establishes the handshake between GDM, Xorg or Wayland, and the rest of systemd’s boot targets. In particularly stubborn cases, you can also disable Wayland in GDM’s config to fallback to Xorg, which is often more forgiving on older or exotic hardware. Open the GDM custom config file with a terminal editor like nano:
Section
root@hostname:~# nano /etc/gdm3/custom.conf
Inside, look for the line:
Section
#WaylandEnable=false
Uncomment it (remove the #) to force Xorg:
Section
WaylandEnable=false
Save and exit (Ctrl+O, Enter, then Ctrl+X in nano), then restart GDM:
root@hostname:~# systemctl restart gdm3
If the screen flickers and returns to TTY, don’t worry; this attempt still gives you log entries that help refine the diagnosis.
Section
Reinstalling Safe Graphics Drivers and Aligning with the Current Kernel
With GDM3 reset and Wayland optionally disabled, it’s time to give your system a clean, compatible set of graphics drivers. Ubuntu provides the ubuntu-drivers tool, which scans hardware and recommends tested driver versions. For NVIDIA-based systems, this is often the quickest path to stability. From TTY as root, run:
Section
root@hostname:~# ubuntu-drivers list

root@hostname:~# ubuntu-drivers devices
The second command shows recommended drivers, such as nvidia-driver-535 or similar, with a recommended tag. To automatically install the recommended driver:
root@hostname:~# ubuntu-drivers autoinstall
This will fetch and install the appropriate proprietary driver, DKMS modules, and dependencies for your current kernel.
If you prefer explicit control, install a specific driver:
root@hostname:~# apt install nvidia-driver-535
Replace 535 with the version shown as recommended.
For Intel or AMD users, in most cases, the Mesa stack shipped with Ubuntu is sufficient, and you just need to ensure Xorg is properly installed:
root@hostname:~# apt install --reinstall xserver-xorg-core xserver-xorg-video-intel xserver-xorg-video-amdgpu
After driver installation, always verify that the currently running kernel matches the modules installed.
You can check your kernel version with:
root@hostname:~# uname -r
If the logs hint at module version mismatches, consider rebooting into an older, known-good kernel via GRUB’s “Advanced options for Ubuntu” menu, then repeating the driver installation there.
This kind of kernel–driver alignment is a core DevOps mindset applied to the desktop: treat your system like a carefully versioned stack, not a black box.
Section
Checking Network Connectivity from TTY to Support Repairs
All of our package repairs, driver reinstalls, and GDM refreshes rely on a functioning network connection. From the TTY, especially on laptops with Wi‑Fi, you may discover that networking is not enabled or that Wi‑Fi is not connected. Ethernet is the easiest path: plug in a cable and ensure systemd-networkd or NetworkManager has brought the link up. Test connectivity with:
Section
root@hostname:~# ping -c 3 archive.ubuntu.com

root@hostname:~# ping -c 3 8.8.8.8
If ping to IP works but not hostname, you have a DNS issue; check /etc/resolv.conf or your router settings. For Wi‑Fi from TTY, you can use nmcli (for NetworkManager-based systems):
Section
root@hostname:~# nmcli device wifi list

root@hostname:~# nmcli device wifi connect "YourSSID" password "YourWiFiPassword"
Once online, you can safely run apt update, install drivers, or even SSH into the machine from another device for more comfortable debugging. I often recommend having a second device with a browser handy; it allows you to look up error messages and cross-reference documentation from sources like Ubuntu or Ask Ubuntu while your main machine is stuck in TTY mode.
Section
Testing the Fix: Restarting GDM and Rebooting Safely
Once you’ve repaired packages, purged/reinstalled drivers, and reset GDM, the next step is to attempt starting the graphical target again. Instead of immediately rebooting, you can test-launch GDM from the TTY and watch for errors:
Section
root@hostname:~# systemctl restart gdm3
# Or try to switch to graphical target explicitly
root@hostname:~# systemctl isolate graphical.target
If the screen flickers and you land on a graphical login, you’ve broken free of the boot loop. Log in and check for any warning messages, GPU temperature or performance anomalies, or missing extensions. If it still fails and dumps you back to TTY, revisit journalctl logs:
root@hostname:~# journalctl -u gdm.service -b --no-pager | tail -n 100
Pay attention to lines mentioning Permission denied, failed to load module, or Segmentation fault.
Often, the remaining issue is a leftover configuration from a previous GPU driver or a custom Xorg config. You can temporarily move suspicious configs out of the way:
Section
root@hostname:~# mv /etc/X11/xorg.conf /etc/X11/xorg.conf.backup-$(date +%F-%H%M)
After these final checks, perform a full reboot to validate that the system now boots cleanly from power-on:
root@hostname:~# reboot
Watching your system transition smoothly from the manufacturer logo to the Ubuntu splash screen and then to a responsive GDM login is immensely satisfying—especially when you know you rescued it yourself.
Section
Preventive Maintenance: Snapshots, Backups, and Version Pinning
Once the crisis is over, it’s tempting to forget the pain and move on. But from a Creative DevOps perspective, this is the perfect moment to bake resilience into your setup so that a failed GDM start in the future becomes a minor inconvenience instead of a weekend-destroying disaster. Here are practical strategies you can implement now that your system is stable again:
Section
- Create regular system snapshots using tools like Timeshift or Btrfs snapshots. These let you roll back to a known-good state after bad updates.
- Back up your /home directory with
rsyncor tools like Deja Dup to protect your data, independent of system packages. - Pin GPU driver versions using
apt-mark holdon stable driver packages if a particular version is known to work well with your hardware. - Document your working configuration—kernel version, driver versions, and important config file tweaks—in a simple README in your home directory or a Git repo.
For example, to hold a known-good NVIDIA driver after you’ve tested it thoroughly:
Section
root@hostname:~# apt-mark hold nvidia-driver-535
You can later unhold it to allow upgrades:
root@hostname:~# apt-mark unhold nvidia-driver-535
This kind of version governance is standard in production DevOps pipelines; applying it to your personal Ubuntu machine is a natural extension of the same thinking.
Section
Automating Future Recoveries with a Simple Maintenance Script
Because boot loop issues tend to recur—often after major system or driver updates—it’s smart to have a maintenance script ready that can be run from TTY to perform basic repairs automatically. Consider creating a simple bash script named rescue-gdm.sh in your home directory that encapsulates the most common recovery steps:
Section
$ nano ~/rescue-gdm.sh
Paste the following example script (and adjust to your preferences):
Section
#!/usr/bin/env bash

set -e
echo “[+] Updating package lists…”
sudo apt update
echo “[+] Fixing broken installs…”
sudo apt –fix-broken install -y
echo “[+] Reconfiguring any half-installed packages…”
sudo dpkg –configure -a
echo “[+] Reinstalling gdm3…”
sudo apt install –reinstall -y gdm3
echo “[+] Forcing Xorg (disabling Wayland) in /etc/gdm3/custom.conf…”
if grep -q ‘^#WaylandEnable=false’ /etc/gdm3/custom.conf; then
sudo sed -i ‘s/^#WaylandEnable=false/WaylandEnable=false/’ /etc/gdm3/custom.conf
fi
echo “[+] Restarting GDM service…”
sudo systemctl restart gdm3
echo “[+] Done. If GDM did not appear, check logs with: journalctl -u gdm.service -b”
Save and make it executable:
Section
$ chmod +x ~/rescue-gdm.sh
In the next emergency, you can TTY in, log in, and run:
$ ./rescue-gdm.sh
This doesn’t replace careful log analysis, but it gives you a rapid response tool that (a) cleans up broken packages, (b) refreshes GDM, and (c) restores Xorg defaults—enough to recover from many common boot loop scenarios.
Section
Digital Sovereignty and Terminal Literacy: Why This Matters
Beyond the immediate technical win of escaping a boot loop, there is a deeper lesson here about digital sovereignty and creative computing. When you learn to use the TTY, inspect logs, manage systemd services, and manipulate graphics drivers from the command line, you are moving from a consumer relationship with your OS to a co-creator relationship. You are not merely using Ubuntu; you are collaborating with it. The ability to repair a broken GDM start without reinstalling the OS translates into confidence to experiment with new kernels, window managers, compositors, and GPU features. You become freer to innovate—because you know you can reverse mistakes. In a world where many devices are locked down and opaque, a Linux system that you can revive from a blinking cursor with a handful of commands is a powerful expression of digital self-determination.
Section
Summary: From Boot Loop Panic to Confident System Engineer
We started with a frightening but common scenario: an Ubuntu system trapped in an endless boot loop after a failed GDM service start. Instead of reinstalling, you learned how to bypass the frozen graphical layer by switching to the TTY with Ctrl + Alt + F3, log in, and gain root access. From there, we methodically diagnosed GDM with systemctl and journalctl, repaired incomplete updates, purged corrupted NVIDIA or Mesa drivers, and reinstalled and reconfigured the GDM3 display manager. We also explored how to force Xorg, reinstall safe graphics stacks, verify network connectivity, and test fixes by restarting GDM or isolating the graphical target. Finally, we looked at preventive strategies—snapshots, backups, driver pinning—and even built a small maintenance script to automate common recovery steps. By following this process, you don’t just fix a single boot loop; you acquire a reusable mental model and toolset for rescuing Linux systems. That’s the essence of Creative DevOps on the desktop: blending technical depth, experimentation, and a strong sense of digital sovereignty to keep your open source environment truly under your control.
For Thai, read here